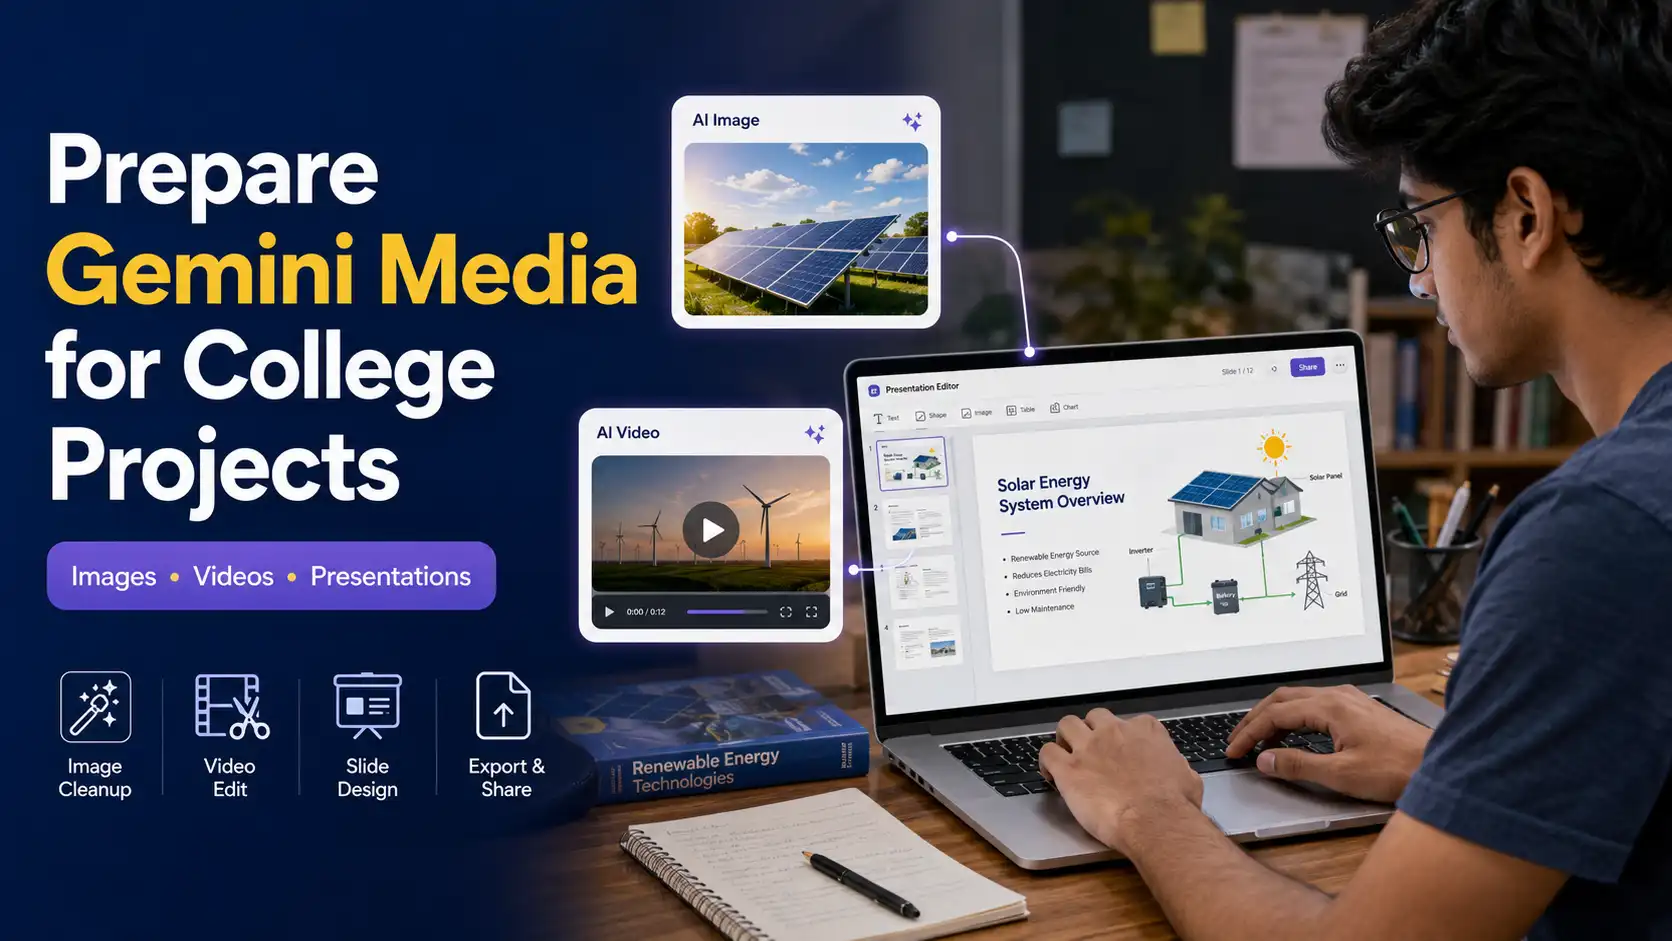
A student can spend hours preparing a seminar, but still feel that one slide is looking incomplete. The topic is explained properly, but the presentation needs a visual that can show the idea within a few seconds.
Gemini is a platform that can help you to create an image or short video for this purpose. You can easily generate a science illustration, a project concept, a process demonstration, or a visual introduction for your presentation.
The first output looks impressive on your phone. However, problems can appear after you place it on a large slide. You will notice incorrect text, an unwanted object, a visible watermark, or an image shape that does not fit the presentation.
To prepare Gemini media, you need more than downloading the file and inserting it into PowerPoint. You should inspect the content, correct visual problems, protect the original quality, and verify every academic detail before submission.
This guide explains how you can prepare Gemini images and videos for college projects, seminar presentations, project reports, and classroom demonstrations.
Why Students Use Gemini Images and Videos
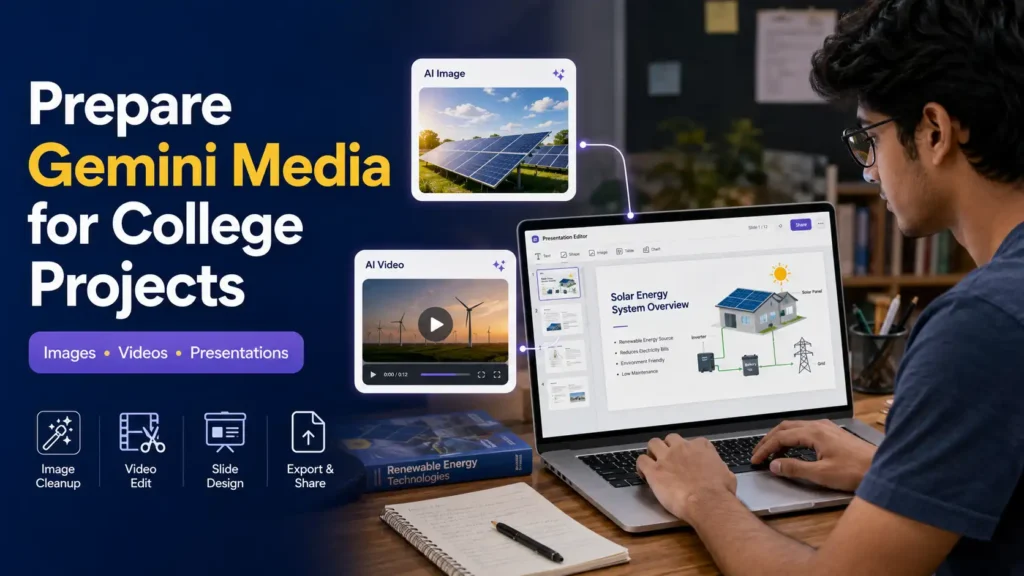
Many college topics are difficult to explain through text alone. A short visual can help the audience understand a machine, scientific process, business model, or proposed project idea.
Suppose you are presenting a project related to solar energy. You can use Gemini to create an illustration showing solar panels connected to a home, battery, and power system. The image can help your audience understand the basic setup before you explain the technical details.
Students can use Gemini media for purposes such as:
- Explaining a scientific or technical concept
- Creating visuals for a seminar presentation
- Showing a project idea before the model is ready
- Preparing short clips for classroom demonstrations
These visuals should support your explanation and not replace your research, calculations, experiment results, or personal understanding of the topic.
A good image can attract attention, but the information inside it may still be wrong. You will be responsible for checking every label and technical detail before using the visual in academic work.
Check the Gemini File Before Adding It to Your Project
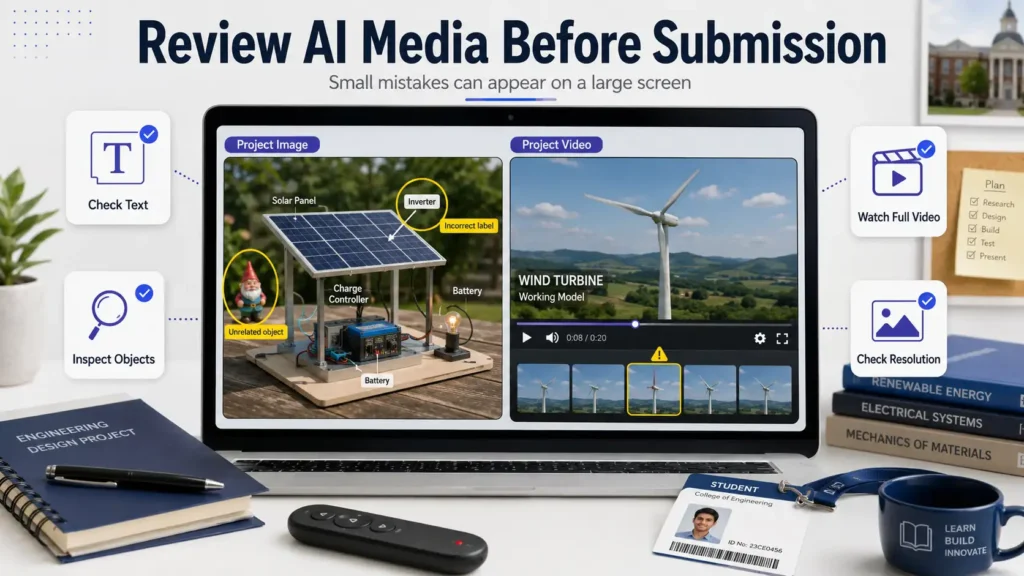
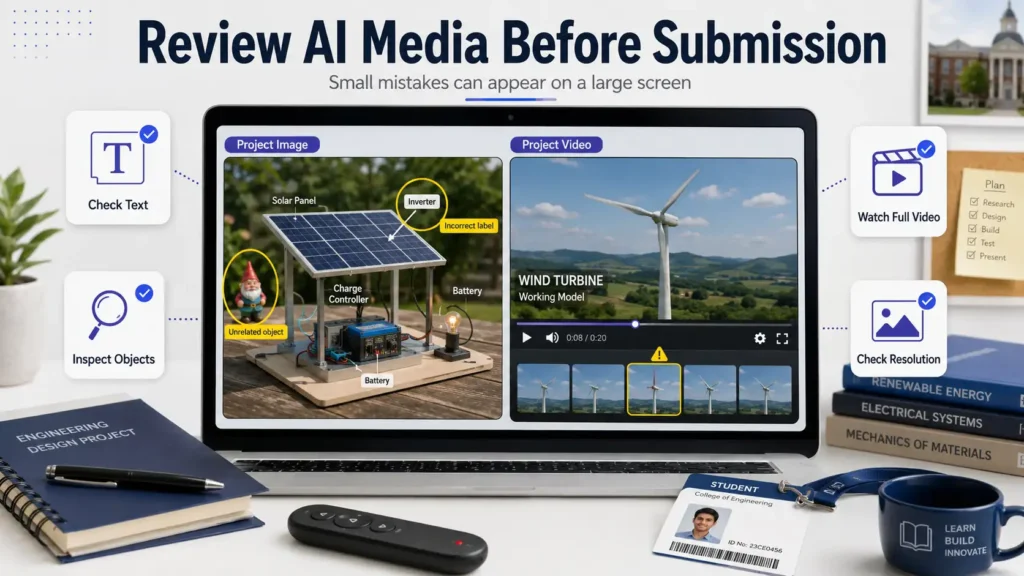
Do not place the first generated image directly inside your presentation. Open it at full size and inspect every part of the visual.
AI-generated content may look accurate at first glance. A closer review can reveal distorted text, duplicate objects, incorrect equipment, or small details that do not match the project topic.
Check All Visible Text
Text inside AI-generated images can come with spelling errors or incomplete words. Some letters may look normal from a distance but make no sense after you zoom in.
You should remove incorrectly generated text and add the correct wording separately in PowerPoint, Google Slides, or Canva. This gives you control over the spelling, font size, and placement.
Text added through presentation software will usually be easy to read on a projector. It is also simple to edit if your teacher asks for a change before the final presentation.
Inspect the Objects and Background
Look at every object shown in the image and check whether the equipment, clothing, location, and supporting items match your project.
An electrical engineering image may show a component connected in the wrong way. An agriculture visual may show the wrong plant or unsuitable equipment for the process being explained.
Small errors can affect the reliability of the complete slide. Remove the incorrect element or generate a revised image if the error affects the main concept.
Watch the Full Video
A Gemini video can look impressive for the first second, but show a visual problem later. You should play the complete clip and watch the subject, background, movement, and text.
For example, in a video, A person may gain an extra object during movement, or a machine part may change shape, or the background may suddenly show an unrelated item.
Thats why you should pause the video at different points and inspect the important area. This is especially useful when the clip will appear on a large classroom display.
Check the Resolution and File Size
A small image may look sharp on a mobile screen but appear blurred inside a full presentation slide. Check its dimensions before placing it in your final file.
Video size also needs attention. A very large clip can increase the PowerPoint file size and may create playback problems on a basic college computer.
Keep a copy of the original Gemini file before making any changes. You can return to it if cropping, object removal, or compression affects the result.
Prepare Gemini Images for PowerPoint and Google Slides
The image shape should match the area where you plan to place it. A wide image works well for a normal 16:9 slide, while a vertical image may need a large crop.
A 1920 × 1080 image can work well as a full-slide background. A 1200 × 675 image may suit a wide content section, while square or vertical files can be used inside divided layouts.
These dimensions are not fixed requirements. Your slide design and the original image quality should decide the final size.
Select the Right Image Shape
Think about the slide before generating the image. Ask Gemini for a wide composition if the visual will cover most of the slide.
You can also ask it to keep the main subject on one side. The empty side can hold your title or explanation without covering the important part of the image.
Avoid stretching a vertical image to fill a wide slide. This can distort faces, objects, and diagrams.
Remove Incorrect AI Text
Generated text inside an image should not be treated like final presentation text. Even a small spelling error can look careless during a seminar.
Use an image cleanup tool to remove the incorrect words. Add verified text separately with the presentation editor.
This method also helps you maintain the same font across every slide. The final presentation will look consistent instead of showing different AI-generated text styles.
Keep Space for Your Heading
A busy image may make a slide heading difficult to read. Choose a visual with some simple background space near the top or on one side.
You can also place a soft transparent shape behind the heading. The shape should improve readability without hiding the complete image.
Choose a Suitable File Format
PNG is useful for graphics, diagrams, screenshots, and visuals that contain sharp edges. JPEG can reduce the file size of photographic images.
Use the format that protects the details needed in your project. Do not repeatedly convert the file between different formats because each conversion may affect quality.
How to Remove Unwanted Objects From Gemini Images
Gemini may create a useful image with one distracting element. You may notice an extra person, a duplicate device, random text, or an unrelated item in the background.
Generating the full image again is one option. However, the next result may change the parts that already looked suitable.
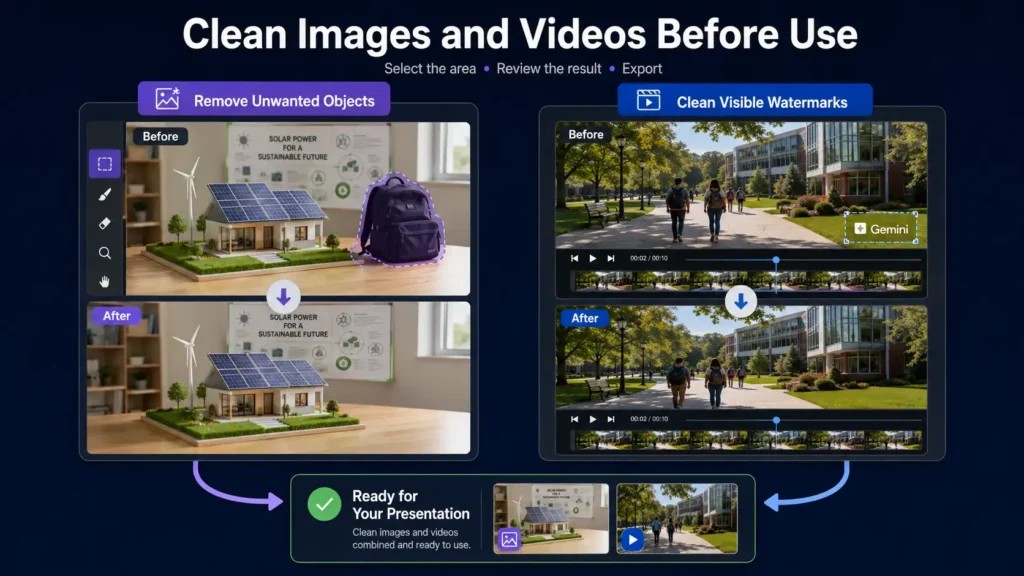
An object removal tool lets you select only the unwanted area. The tool studies the nearby background and fills the selected section with matching visual information.
Upload the original image and use the selection brush over the complete object. Keep the selection close to its edges without covering a large part of the useful background.
After processing, zoom into the repaired section. Check for blur, repeated patterns, or parts of the original object that may still remain.
A plain wall or open sky is usually simple to repair. Detailed circuits, charts, faces, and patterned surfaces may need manual correction or another generated image.
Prepare Gemini Videos for College Presentations
Video can make your presentation engaging, but it should also serve a specific purpose. A long continuous AI clip might distract the audience from your explanation.
Use a short section that supports one point. You can trim unnecessary opening frames or remove the part that does not add useful information.
Keep the Clip Focused
A video of five to fifteen seconds may be enough to demonstrate a simple idea. Longer clips should have a strong reason to remain in the presentation.
You can speak over a muted video and explain what the audience should notice. This keeps the presentation connected to your own understanding.
Check the Audio
You should listen to the complete clip before adding it to a slide. Any AI-generated sound may have unsuitable speech, background noise, or effects that do not fit the academic setting.
Mute the clip if the sound is not required. You can explain the visual yourself or add verified captions.
Use a Compatible Video Format
Microsoft recommends an MP4 file encoded with H.264 video and AAC audio for good compatibility in PowerPoint. This format is widely supported and can reduce the chance of playback problems during the presentation.
Do not depend on a file that only works in one editing app. Test the exported MP4 directly inside the presentation.
Test the Video on the Final Device
A clip that works on your laptop might not work properly on the computer used in the seminar hall. Codec support, file paths, or linked media can create problems.
Open the final presentation on the actual device where possible. Play every video in slideshow mode and confirm that the audio also works.
Keep a separate copy of the video in the same folder as your presentation. This gives you another way to play it if the embedded version creates a problem.
Technology can support both learning and relaxation. You can also discover how to learn and increase your CGPA while playing games by managing your time and choosing useful activities.
How to Remove a Visible Watermark From Gemini Videos
A visible Gemini or Veo mark may appear near a corner of an AI-generated video. It can attract attention after the clip is placed inside a seminar slide or project demonstration.
Students who need to remove a watermark from Gemini videos should work only with clips they generated or have permission to edit. Removing a mark from another creator’s media does not give you ownership of that content.
Start with the original file downloaded from Gemini. A video received through WhatsApp or taken from a social media post may already contain compression.
Upload the original clip to the removal tool and wait for the preview to appear. Use the selection brush or box to cover the complete visible mark.
Keep the selected area close to the watermark. A large mask asks the system to rebuild a wider part of every frame and can affect nearby details.
Start the processing and wait for the cleaned preview. The tool will analyse the area around the mark and try to reconstruct the hidden background across the video.
Play the complete output before downloading it. Look for flicker, colour changes, blur, or a repeated texture where the watermark was placed.
A fixed watermark over a plain surface may give a suitable result. A mark placed over moving hair, water, text, or a detailed object may require another attempt or manual editing.
Export the video at the original resolution where possible. Increasing a small clip to a large resolution will not restore missing visual detail.
Visible Watermarks and SynthID Are Different
A visible watermark appears directly on the media. You can see the logo or label while looking at the image or playing the video.
SynthID is different. Google describes it as an imperceptible watermark used to identify content created or altered with Google AI. Google also says Gemini can identify portions of uploaded videos where a SynthID watermark is detected.
| Type | What you can see | What a normal cleanup tool does |
|---|---|---|
| Visible watermark | A logo or mark appears on the media | It may repair the visible area |
| SynthID | No normal logo appears on the screen | Visible cleanup tools do not target it |
Removing a visible corner mark does not prove that the media is not AI-generated. It also does not remove your responsibility to disclose AI use where your college or teacher requires it.
This article only covers visible image and video cleanup. It does not explain how to remove SynthID or bypass AI-content verification.
How to Remove Watermarks and Objects From Images and Videos
Academic media can contain different types of unwanted elements. An image may show incorrect text, while a video may include a visible logo or distracting object.
A general cleanup platform can help you remove watermarks and objects from your own images and videos before placing them inside a project. It can also be useful when the media was not generated through Gemini.
The basic process is similar for both file types. Upload the original file and select the unwanted area carefully.
For an image, inspect the repaired section at full zoom. The new background should match the nearby colour and texture.
For a video, play the full output. A paused frame may look fine even though the repaired area flashes during movement.
Keep these four points in mind:
- Select only the unwanted area.
- Work with the original file.
- Check the reconstructed background.
- Review the complete output before export.
Do not use removal tools on downloaded media that belongs to another person. A watermark may show ownership, licensing, or the original source.
Keep Gemini Images and Videos Sharp
Most quality loss happens through repeated compression or poor export settings. The removal process is only one part of the complete workflow.
Use the first downloaded Gemini file instead of a version sent through a messaging app. Many messaging platforms compress images and videos to reduce transfer size.
Avoid enlarging a small image far beyond its original dimensions. The software may increase the pixel count, but it cannot recreate every missing detail.
Complete your object removal, crop, and text correction before the final export. Repeatedly saving the same JPEG or compressed video can affect the output.
Check the final media on a laptop or large screen. Projectors can expose blur and visible repair patches that were difficult to notice on a phone.
Add the Edited Media to PowerPoint
Insert the final file directly instead of taking a screenshot. A screenshot can capture unwanted interface elements and can reduce the usable resolution.
In PowerPoint, select the slide and use the Insert option to add your image or video. Microsoft provides separate controls for video format, playback, borders, and effects.
Resize an image from its corner so the original proportions remain the same. Dragging only one side may stretch the subject.
Avoid covering most of the visual with text. Use the image to support one message and place the explanation in a readable area.
For video, decide whether it should play automatically or after a click. Test this setting in slideshow mode before the presentation.
Add the Edited Media to Google Slides
Google Slides allows you to add images and videos through the Insert menu. Its official desktop instructions explain that a video can be inserted into a selected slide through Insert and Video.
A video stored on Google Drive can be useful for a Slides presentation. Make sure the correct account has access to the file and test the presentation with the internet connection you expect to use.
Do not assume that the college network will work without interruption. Keep an offline copy of the video and a backup PowerPoint or PDF where possible.
For an image, upload the final exported file instead of copying a low-quality preview from Gemini. Check the slide in full-screen mode after placement.
Add Gemini Images to a Project Report
Gemini images can also appear inside Word documents, PDF reports, posters, and project summaries. The same accuracy checks apply even if the image is not used in a live presentation.
Add a caption under the visual. Mention that it is an AI-generated illustration if someone may mistake it for an actual experiment photo or real event.
An AI-generated diagram should not replace verified project data. Use real graphs, survey results, measurements, or experiment photographs for factual evidence.
A good report should distinguish between:
- Actual project data
- Verified reference information
- AI-generated illustration
- Your own explanation
This separation helps the reader understand what was observed and what was created only to explain the idea.
Do Not Treat AI Visuals as Verified Facts
Gemini can create a convincing image that still contains academic errors. A machine may include an impossible part, or a historical visual may contain an item from the wrong period.
Check technical names and labels with reliable sources. You should also verify dates, formulas, equipment, and process orders before submission.
Cleaning an image can make it look polished. It does not make the information inside the image accurate.
Your teacher may ask why a particular component or visual step appears in the media. You should be able to explain and defend every important detail shown on the slide.
Use AI Media Responsibly in College Work
AI rules may differ between colleges and individual teachers. Some assignments permit AI-generated visuals with disclosure, while others restrict AI-created material.
Read the assignment instructions before creating the final slides. Ask your teacher where the policy is not explained properly.
Responsible use includes:
- Using AI visuals only as supporting material
- Mentioning AI use where required
- Editing media you own or have permission to use
- Avoiding false claims about experiments or events
Do not present an AI-generated laboratory scene as a photograph of your actual experiment. Do not use a generated product model as proof that you built the physical device.
A simple disclosure can prevent confusion. For example, you may write “AI-generated concept illustration created with Gemini” below the visual.
Common Mistakes Students Should Avoid
Using the First Output Without Checking It
The first image may look suitable, but it still contains incorrect text or distorted objects. A five-minute review can prevent an embarrassing problem during your presentation.
Stretching the Image to Fill the Slide
Stretching changes the natural proportions of the visual. Resize from a corner or crop the image based on the available space.
Removing Ownership Marks From Third-Party Media
Only clean media that you created or have permission to edit. A public image or downloadable video can still be protected by copyright or licensing terms.
Forgetting to Test the Final File
Images may look blurred in slideshow mode, and videos may fail to play. Test the complete presentation on the final device and keep a backup copy.
Final Checklist Before Submission
Review the complete project once after adding every image and video.
- Confirm that all text and technical details are accurate.
- Check the visible quality of each image and clip.
- Test video playback on the final device.
- Add citations or AI disclosure where required.
Open the slides in full-screen mode and read them from a distance. The visual should support your explanation without making the text difficult to read.
Also, check the total file size before uploading the assignment. A compressed backup can help if the college portal has a file limit.
Final Thoughts
Gemini can help you create useful illustrations and short videos for college work. The generated media may still need text correction, object removal, resizing, watermark cleanup, or quality checks.
A Gemini-focused tool can help with a visible mark on your own generated video. A general image and video cleanup tool can handle other unwanted elements that affect your project.
The final visual should help your audience understand the subject. It should not replace your research, verified data, experimental work, or academic responsibility.
Use AI media as a supporting resource. Review it carefully and explain it in your own words.
Frequently Asked Questions (FAQs)
Can Students Use Gemini Images in College Presentations?
You can use Gemini images if your college or teacher permits AI-generated media. Add a disclosure where the assignment rules require it.
How Do I Remove a Visible Watermark From a Gemini Video?
Upload the original file to a suitable cleanup tool and select the visible mark. Process the video and inspect every part of the repaired area before exporting.
Can I Remove an Unwanted Object From a Gemini Image?
An object removal tool can rebuild the selected area using nearby visual details. Check the result at full zoom because complex backgrounds may show blur or repeated patterns.
Does Removing the Visible Gemini Watermark Remove SynthID?
No. A visible watermark and SynthID are different. Google describes SynthID as an imperceptible watermark used to help identify content generated or edited by its AI systems.